Sourdough 101

There are some serious benefits to making your own sourdough bread … It tastes great and you get to control the ingredients.
Store bought bread is highly processed and the preservatives are the reason it’s so shelf stable. It also contains an obscene amount of sugar and salt, and the wheat that is used has all of the good for you stuff stripped away and can be very hard to digest.

Homemade sourdough is very easy to make and this recipe has very few touchpoints. The bulk of the time this bread takes to come together is the overnight fermentation process that occurs inside of your refrigerator while you sleep. This fermentation makes this bread highly digestible!
Use a good quality organic flour such as King Arthur or even the Kirkland brand from Costco, and it doesn’t matter if it’s bread flour or all purpose. Both work great!
Creating and feeding a starter is pretty simple.
Don’t let anyone tell you it’s really hard … That’s all hype for online clicks.
This starter is called a 100% hydration because it’s built with a 1 to 1 to 1 ratio of starter, flour and water.
Every time you feed your starter it’s the same game: Weigh out some starter and then add an equal amount of water and flour to feed it, and then stir to combine.

Your starter is ready to bake with when it smells yeasty, is full of bubbles and easily doubles in size within a few hours. In cold weather it takes about 4 hours but in warmer seasons it can double in an hour.
*Store your starter in your refrigerator and feed it at least once a week even if you’re not baking.
When you want to use your starter to bake, remove it from the fridge and feed it in a glass or plastic, non metal, cylindrical container. The walls of the cylinder give the starter a surface to cling to and you’ll get a better rise. Cover your fed starter loosely and let it rest in a warm spot but not in the oven. I often set mine on a cooling rack with my under counter lights on and use a coffee filter secured with an elastic band to cover the top.
-

Weigh your container
You need to know how much your container weighs when empty.
-

Tare out the scale
Once you know how much your container weighs you tare it out, or zero it out.
-
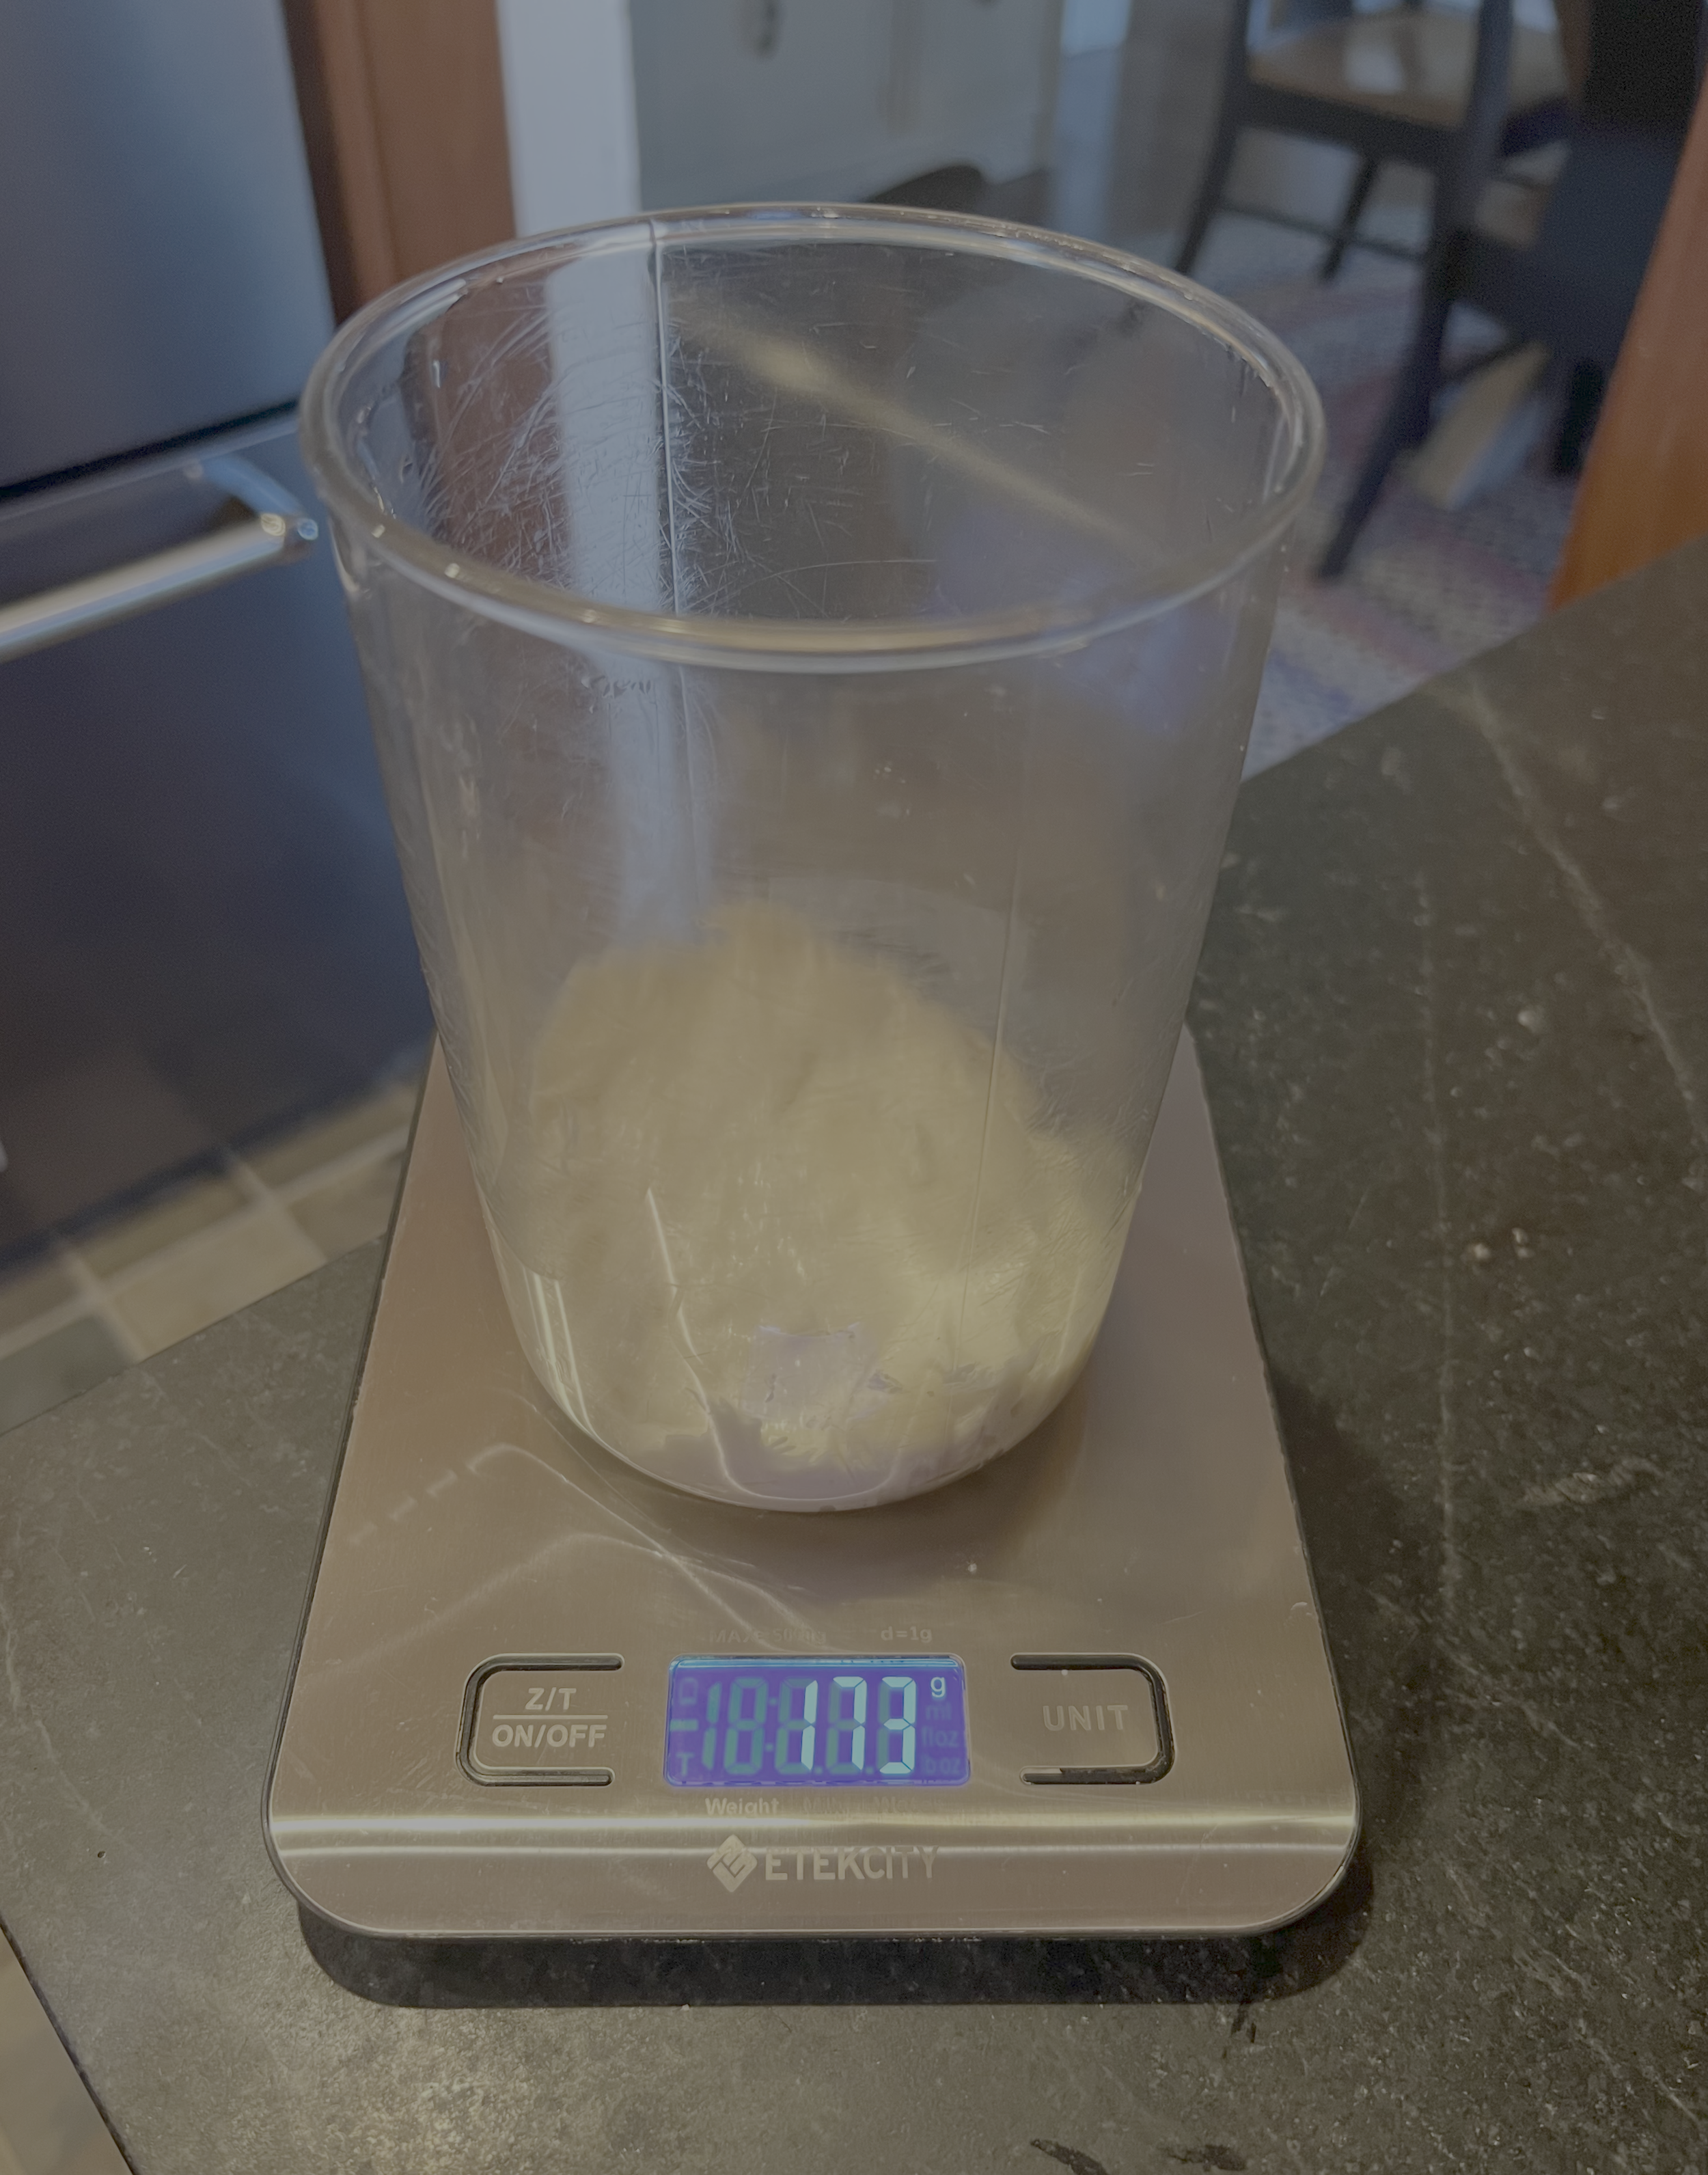
Add some starter
I typically add less than 200 grams because I don’t want to create so much starter that I have a mad science project cooking in my kitchen. I want enough to bake bread and maybe a quick bread.
-

Mark the level of your starter
I use a piece of tape and a Sharpie to mark where my starter is beginning so that I know when it’s doubled in volume.

Creating your dough
There are only 5 ingredients to make sourdough bread:
Starter 227 grams
Warm Water 397 grams
Salt 18 grams
Diastatic Malt Powder 2 teaspoons (Malt powder isn’t necessary but provides a stronger rise.)
Flour 600 grams
In a large bowl add the warm water, salt, and malt and stir to combine.
Add your bubbly starter that has doubled in volume and stir to combine these ingredients (You’ll know that your starter is good and strong if it floats in the water).

3. Add half of the flour and stir to combine. I use a Danish whisk because it works great and the dough doesn’t stick to it.
4. Add the remaining flour and stir to combine. Use your hands if necessary to incorporate the flour from the bottom of the bowl.

At this point the dough looks shaggy and you’ll probably wonder how this is going to come together.
Cover with a tea towel and wait 45 minutes to an hour.
During this time the magic happens … the flour begins to hydrate and the dough starts coming together.
Stretch and Folds
There’s no kneading necessary.
After your dough has rested for 45 minutes to an hour the flour will have begun to hydrate and come together looking something like this:
Don’t stress if it’s not as smooth as this photo. Sometimes if I’ve rushed incorporating the ingredients during the initial mixing of the dough it will still look a bit shaggy before the first stretch and fold, and this is not a problem … It will come together.
I’ve intentionally tried to mess up this recipe by forgoing the stretch and fold for hours on end or leaving it on the counter way longer than necessary …. It still turns on the same way every single time.

This recipe uses a series of 4 or 5 “stretch and folds” to build strength and elasticity into your dough. Do your first set 45 minutes to an hour after you’ve mixed the dough and its had a chance to rest and hydrate. The subsequent stretch and folds happen about an hour apart. You’ll know when you are done with the stretch and folds because the dough will be soft and elastic.
A “Stretch and Fold” is simply stretching the dough and folding it over on itself. Each set is comprised of four stretches and folds with the bowl rotated a quarter turn between each one.
Don’t be hyperfocused on the amount of time in between your stretch and folds. I typically do one every hour, but if I’m out running errands and it’s two hours it’s fine … This is a very forgiving recipe.
Also, temperature plays into elasticity. If it’s cold you’ll need more time in between your stretch and folds.
This is the elasticity that you’re aiming for with your stretch and folds.

The initial stretch in your “stretch and fold” will always be the easiest and the other three will require a little more effort as the dough tightens up.
You may see this time of initial resting and hydrating called Bulk Fermentation in other recipes.
Shaping and Second Rest
Shaping and second rest are key for great sourdough.
Once you’ve completed 4 or 5 stretch and folds it’s time to shape your dough. The result of shaping is a smooth dough with a tight outer skin that’s then placed into a proofing basket or bowl and then into your fridge for the dough’s second rise.
This part takes a little practice, but I get a lot of satisfaction out this shaping process.
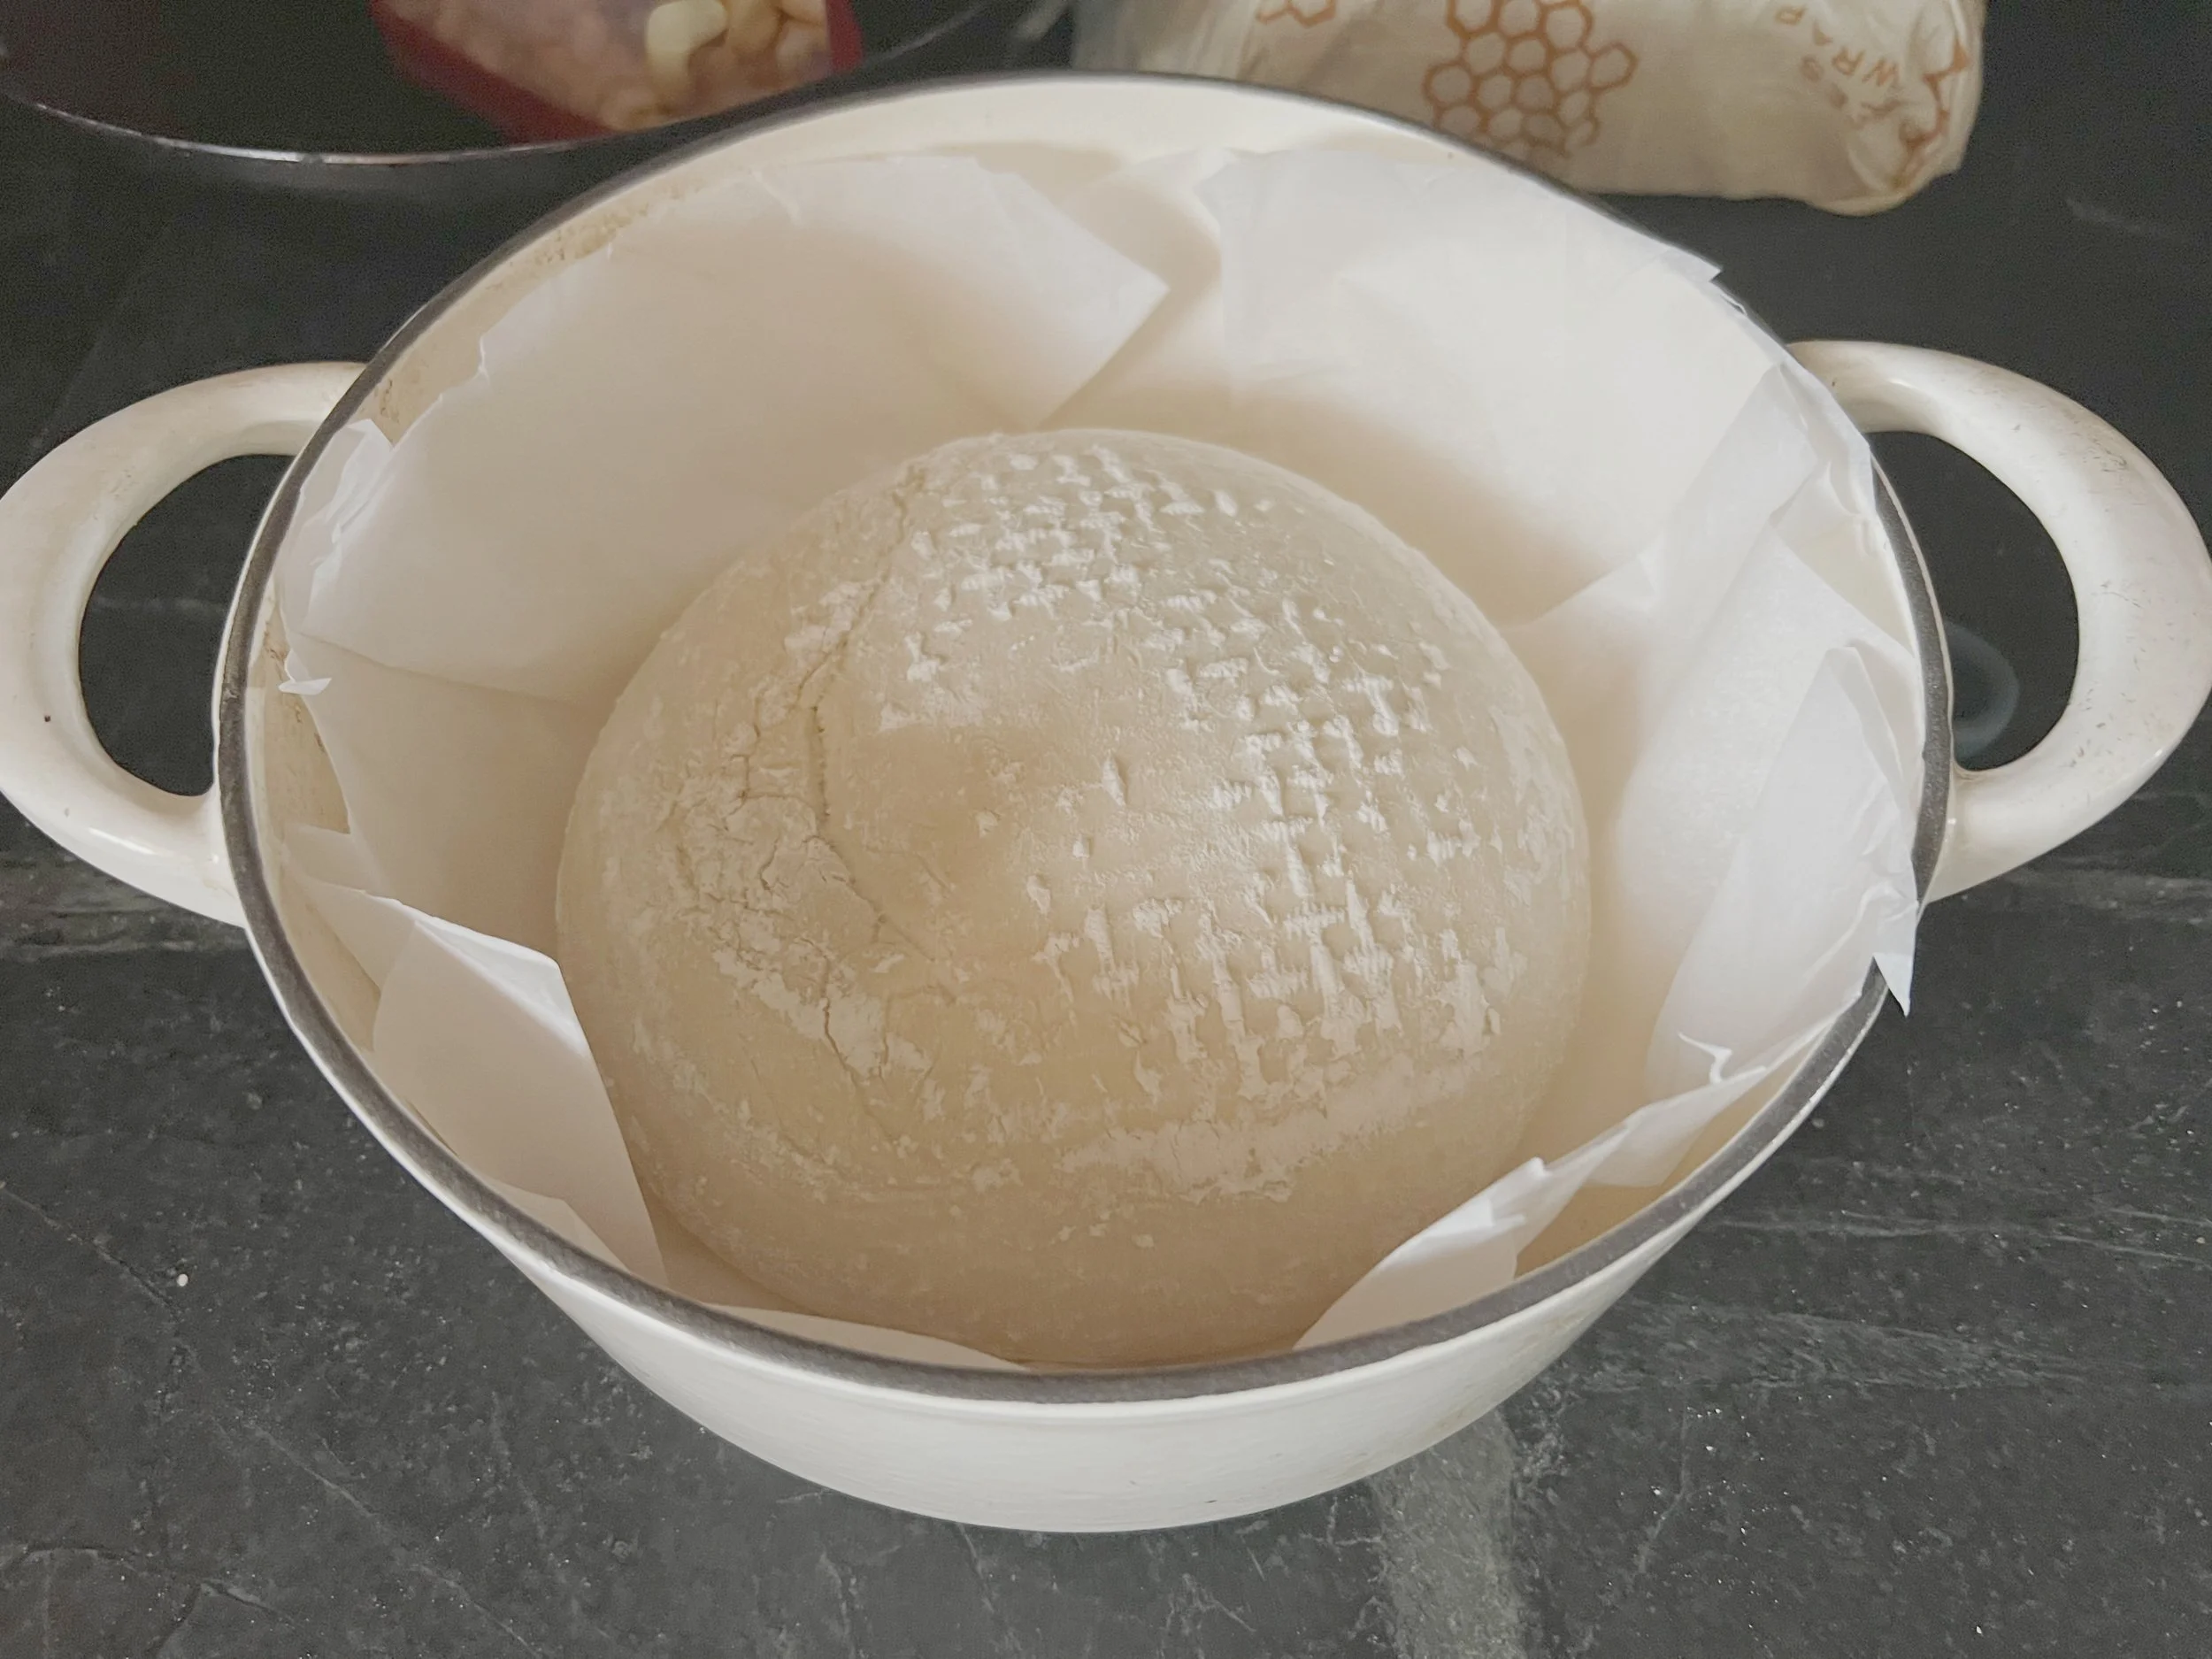
Once your dough is shaped into a nice, tight Boule it’s ready to be placed into a banneton, which is a basket that is lightly dusted with rice flour or regular flour. (I use regular flour and it works just fine) and then placed inside the refrigerator. Can you use a regular bowl rather than a banneton … Yes, but I like the banneton so much better and have include a link at the end of this recipe.

This second rest takes place in your fridge and it’s very important to the fermentation process and is key to making sourdough more digestible than standard yeast bread. This rest is on your timeline, but I typically leave it in the fridge covered with a tea towel for 12-15 hours, but it can rest in there up to 48.
Getting ready to bake
Remove your dough from the banneton and place it on a piece of parchment paper cut to fit your Dutch oven.

A lot of recipes will say not to place your dough into your Dutch oven at this point because they want you to preheat your Dutch oven before baking your bread to get a stronger “dough spring.” I just don’t find this to be necessary and put my dough directly from the fridge into the Dutch oven for it’s final rest.
Let your dough rest one final time to relax … This typically takes about an hour or two. It won’t rise during this rest but will spread out in the pan just a bit. You’ll know it’s ready to bake when the surface yields to gentle pressure.

Scoring and Baking
Scoring is simply making a few large, shallow cuts on the top of bread dough right before it’s baked.
During the bread making process, fermentation naturally produces carbon dioxide that builds up in the dough. As the dough bakes, the exterior of the dough rapidly hardens and begins to form a crust. Meanwhile, the water in the dough rapidly evaporates.
Scoring creates a weak point in the dough where water, in the form of steam, can escape. Without scoring, the steam will find its own weak point and burst through the crust as it hardens, this creates unwanted bulges and blowouts in your bread.

There are some fancy designs for the top of a sourdough loaf that rival latte art, but I just cut a few simple slats in the top with a razor blade to let steam escape.
Baking
Preheat your oven to 500 degrees
Cover your Dutch oven with its lid and place on the lowest rack of your oven
Immediately lower the oven temp to 450 and bake for 45 minutes
After 45 minutes remove the lid and bake for an additional 10 minutes
If you forget to lower the temp to 450 it’s ok … Just don’t bake it the extra 10 minutes to brown the top. (Yes, I’ve made this mistake and it still turned out great!)


After baking immediately remove your bread from the Dutch oven and place on a rack to cool.
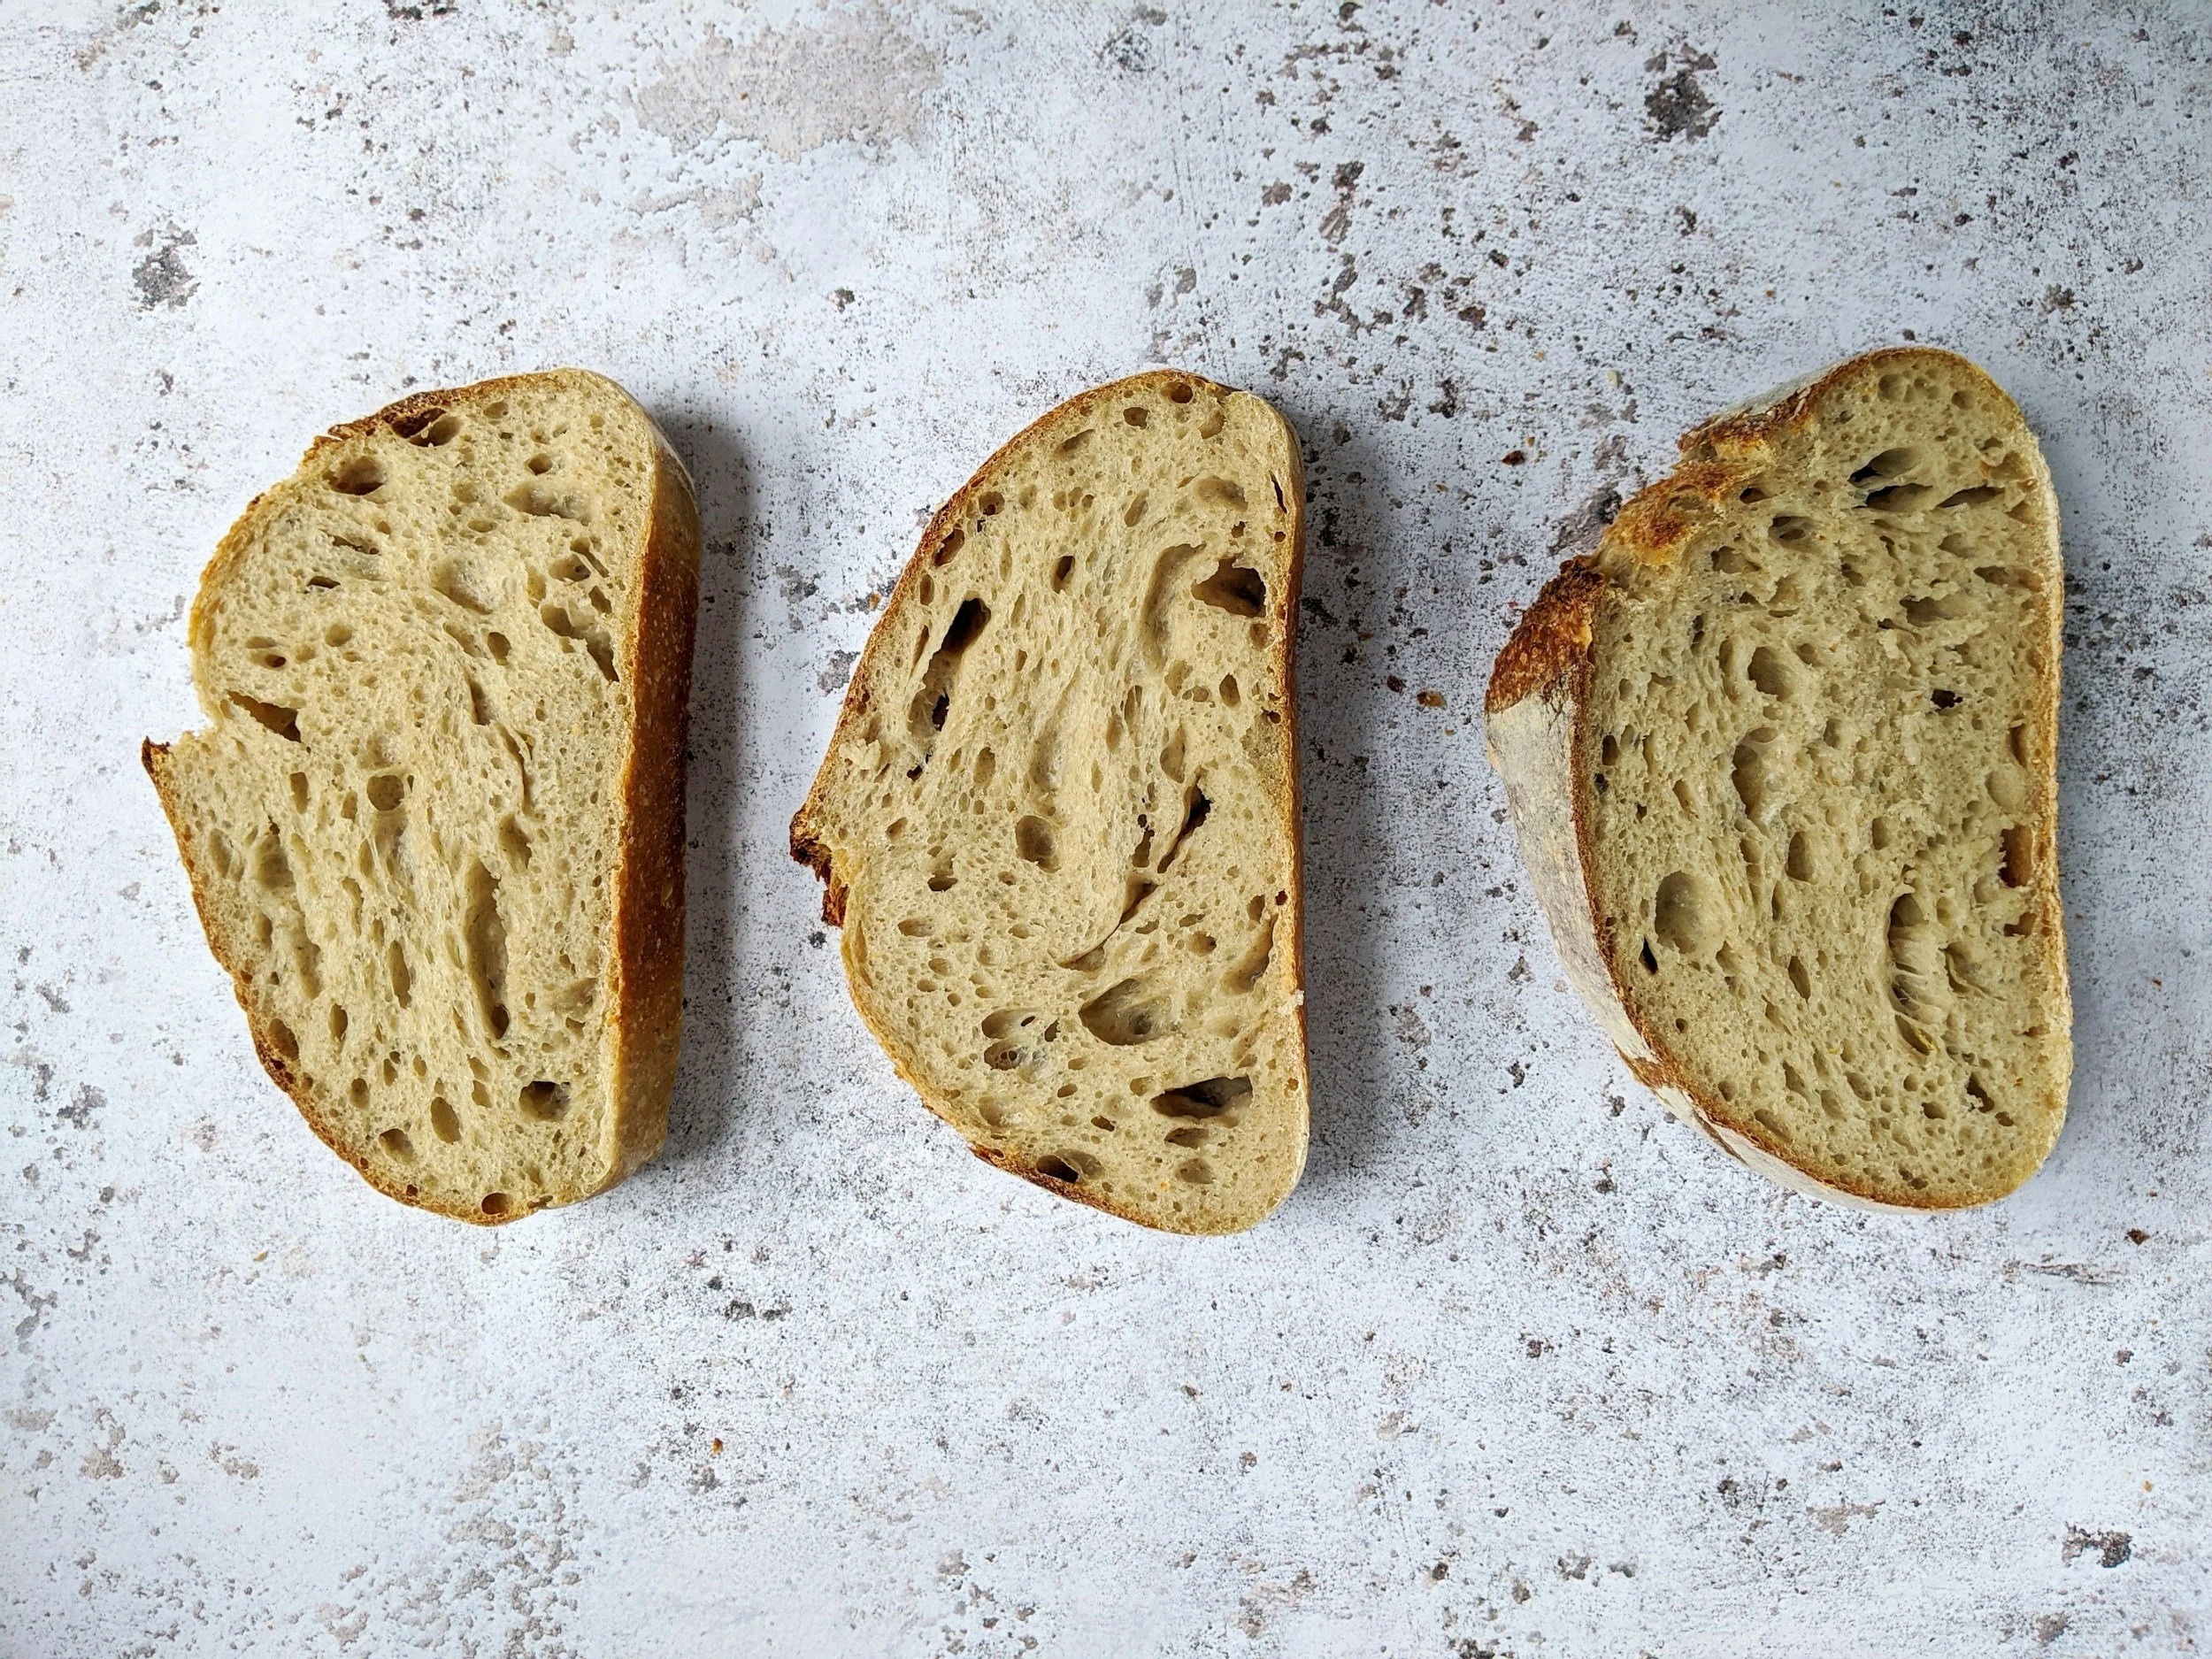
*Resist the urge to cut your bread while it’s hot because it will end up being rather gummy. Let it cool for at least an hour and then have at it.


Additional Recipes

Pumpkin Bread from The Clever Carrot

Banana Bread from The Clever Carrot

Cheese Crackers from Natasha’s Kitchen

Cranberry Orange from Vanilla and Bean

Blueberry Muffins from Lynn’s Way of Life